
You’re offline. This is a read only version of the page.

Select a heading to expand its content
Licensees who wish to use the portal can enroll for NRC credentials here: https://pki.nrc.gov/ecs/apps/gold/dcc-gold-wrr.html
After completing identity verification, enrollees can log in to the MAP-X Portal using their established username, password, and one-time password code.
Detailed instructions for enrollment can be found at
https://pki.nrc.gov/ecs/docs/EnrollmentGuideLevelGold.pdf
If you have any difficulties with using the MAP-X Portal, please contact:
map-x.resource@nrc.gov
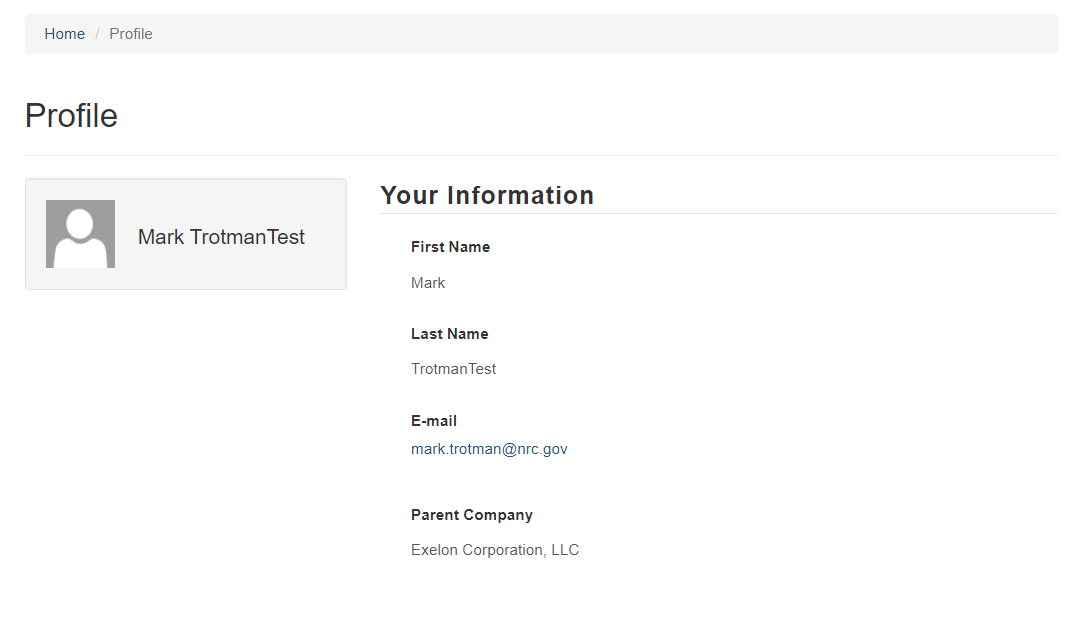
You can access your profile by clicking "Account" on the header and selecting "My Profile" from the dropdown.

From the My Profile page you can view:
-The name tied to your account
-The email address tied to your account
-The dockets you have access to.
Whether you can submit, create/edit, or only view a submission is determined the permissions assigned to you by the Administrator. If you feel there’s an error in your permissions, please reach out to you Administrator Contact. For additional guidance on the Administrator role, please see the “User Guide for Administrators” below.
The MAP-X home page serves as the landing page through which you can access the rest of the system. It includes the navigation elements listed below:

In the header, on the right hand side of the screen you will see the navigation tabs, from these you can do the following, the layout of this section will depend on whether you are logged in and your access to the system:
-The "My Page tab brings you to that page, where you can see the history of all your submissions and their current status.
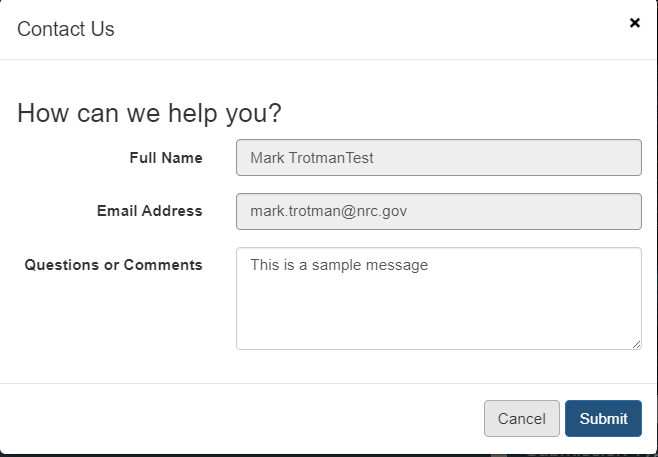
-The support section includes functionality to allow you to better utilize MAP-X. It has the links to the User guide that you are currently reading along with the FAQ, which answers some questions that are regularly asked about the system. Finally, the contact us button allows you to send a message to the MAP-X team to address any question you may have.
-The account section includes the link to the profile page (described above) and the Admin page, if you have the needed access.
-The sign in/ sign off link either brings you to the login page or sign you out of the system.
The submission types section on the right side of the screen allows you to access the pages to view, create or edit form submissions for the various forms in MAP-X.
Accessible from the header navigation after logging in, the “My Page” allows you to view all your existing submissions.

The my submission screen has two main interaction points:
A) The submission types area allows you to access the pages to view, create or edit form submissions for the various forms in MAP-X
B) The my submission screen allows you to see your past submissions and quickly edit them. Some features worth noting are:
1. Searching submissions based on any of the columns, use a wildcard [*] at the start of the search to search on partial text
2. By selecting any of the headers you can order the list of your submissions by that column.
3. Selecting the unique ID will bring you directly to the record.
4. Selecting the Submission Link will bring your directly to the record.
Each form has a central page that allows you to manage, review, and create new forms (dependent on having the access to do so). So for example the Event notification has a “My Event Notifications” page. Each of these pages follows this layout:

A) The new form section lists the variants of the form. Selecting any one of these links will bring you to the page to create that variant of the form.
B) The list of form submissions that you can view or edit (dependent on user access).
1. If there are multiple variants of the form there will be a tab allowing you to alternate between the variants.
2. The search bar allows you to search based on any of the columns of the table below it. You can use a wildcard [*] to do partial text searches.
3. The create button allows you to create a new form.
4. The header columns can be used to sort the list of forms in ascending or descending order.
5. Selecting the Unique ID for a form will bring you directly to it. 6. Selecting this button will also allow you to be brought to the form.
Opens up the following dialog box, which prompts you to contact the MAP-X Portal resource email.
Users are provided access on a docket focused administration process. This mean that when a user is created the docket is the starting point for all access. This means that to administrate a user you set up what dockets the user will need access to in MAP-X. In turn, MAP-X will then provide a user access for all of these dockets, along with any plants or licensees tied to the docket. Providing access to a docket will allow a user to submit all types of form for that docket and will have that docket show up in all applicable search fields in the system.
If you are an Application Admin you can administrate users by selecting the account button in the top right corner of the screen and then selecting the admin page link.

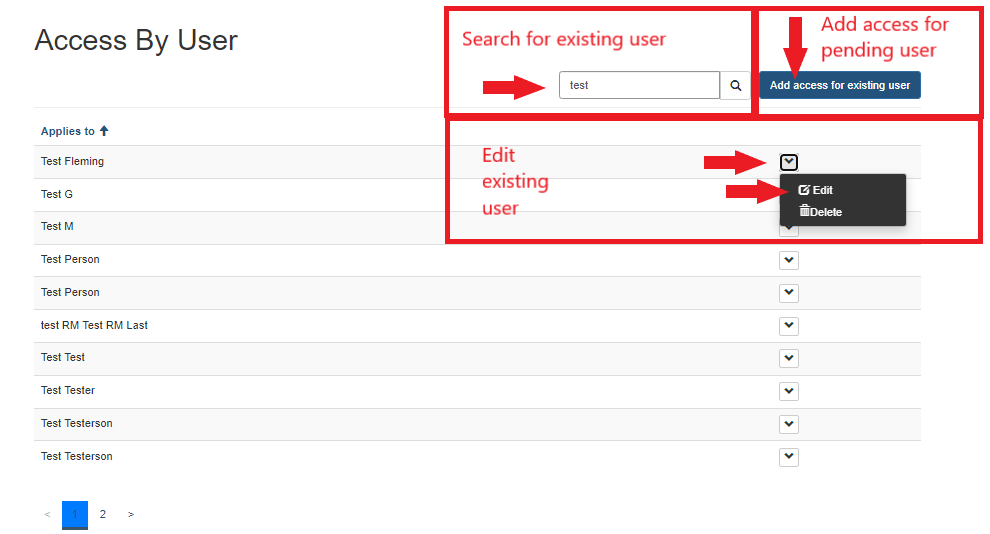
From the “My Admin Page” users with existing access can have their access updated by searching for their name and the selecting edit under their record. If a user has only been partially set up and shows up in the pending users section you can use the “Add access for existing user” button.
If you want to add access for a user prior to them completing the ICAM credentialing process you can select the create button next to pending users. This will bring you to the user create screen.
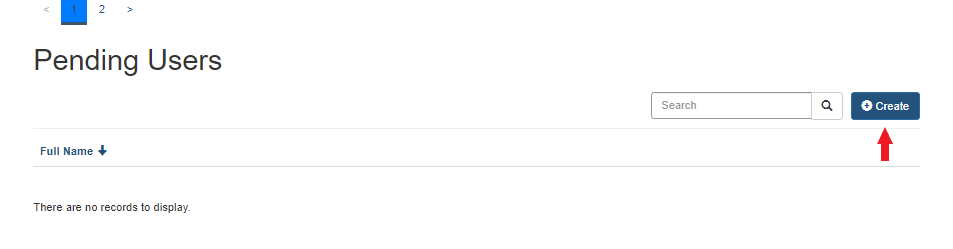
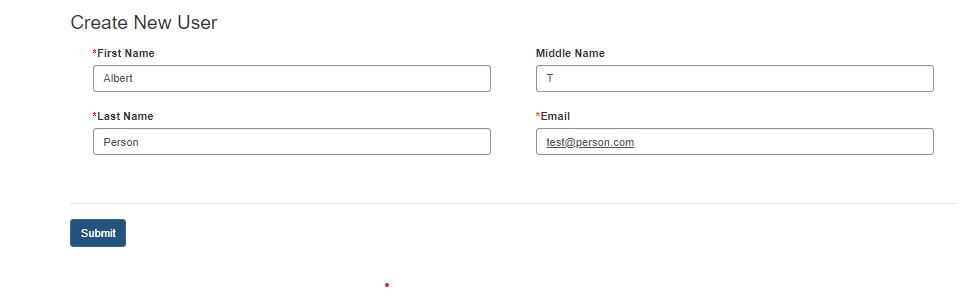
From the create user screen you will provide basic information about the user and then select submit. From there you will be able to assign dockets to the user, which will decide what level of access they have.
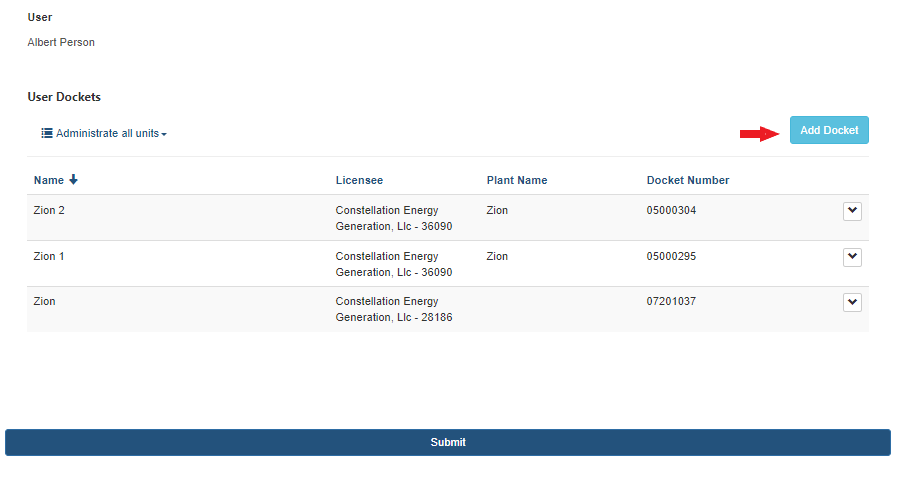
Regardless of which of the above steps you took, the process of adding dockets to a user is the same in all cases. From the docket update screen you will be able to see all dockets assigned to a user, add new dockets or remove existing dockets. To add a docket for a user select the add docket button.
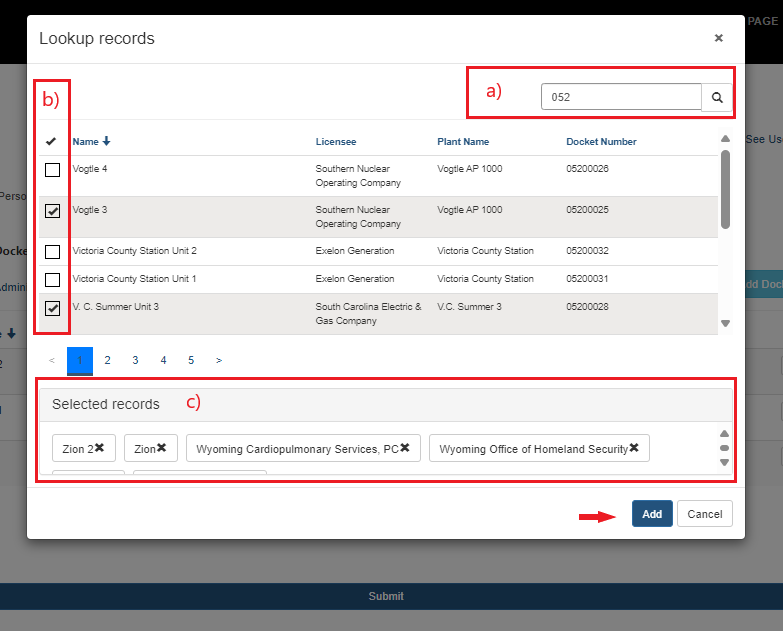
When adding a docket for a user you can:
a) Search for a user based on docket number, docket name, plant name, and licensee name.
b) Select multiple dockets at a time by selecting their checkboxes
c) View and remove already selected dockets from the selected records section. This will only show you the dockets you are adding at this moment, you will be able to review all dockets assigned to this user afterwards and make adjustments if needed.
Once you have added the docket(s) you would like the user to have access to, select add.
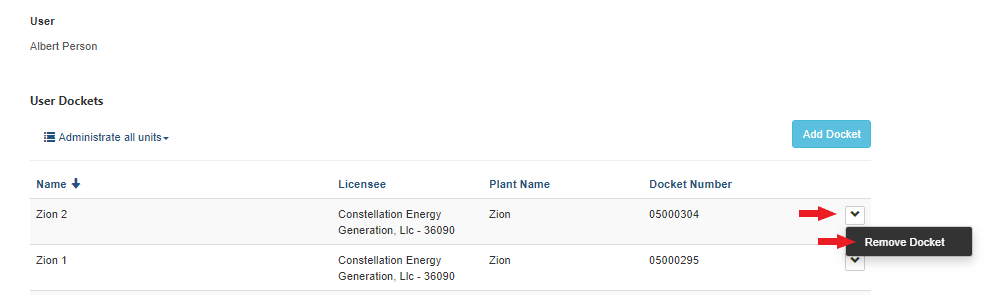
If a docket has been accidentally added or otherwise needs to be removed that can be done by selecting remove in the menu for the docket.
Once you have added in all the dockets for the user select Submit. Warning: if you do not select submit, any changes you made to a user’s dockets will not be processed.